ATOS Core | Portable 3D Scanner
ATOS Core – Optical 3D scanner ATOS Core for quality control and reverse engineering.
Optical 3D scanner ATOS Core for
quality control and reverse engineering
Overview
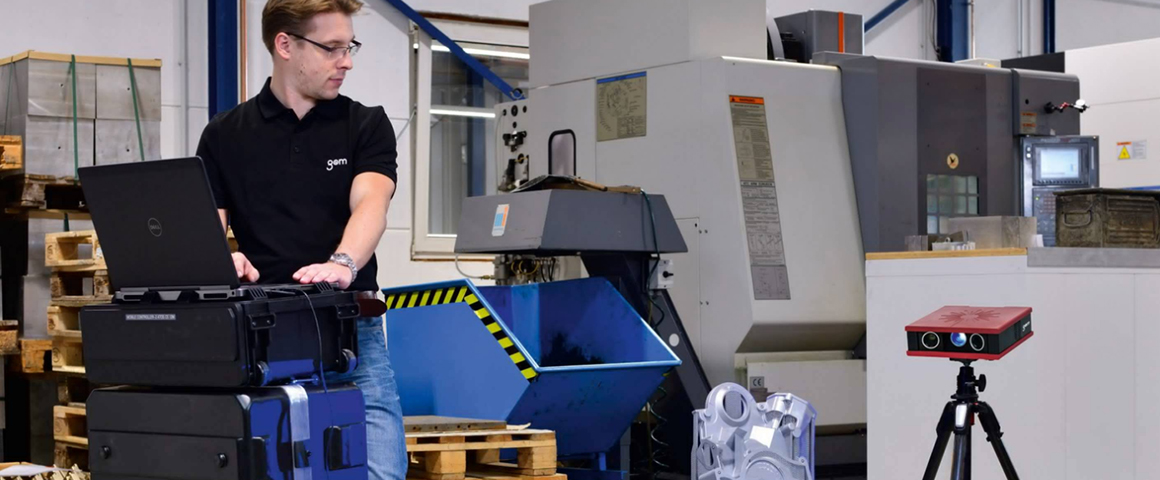
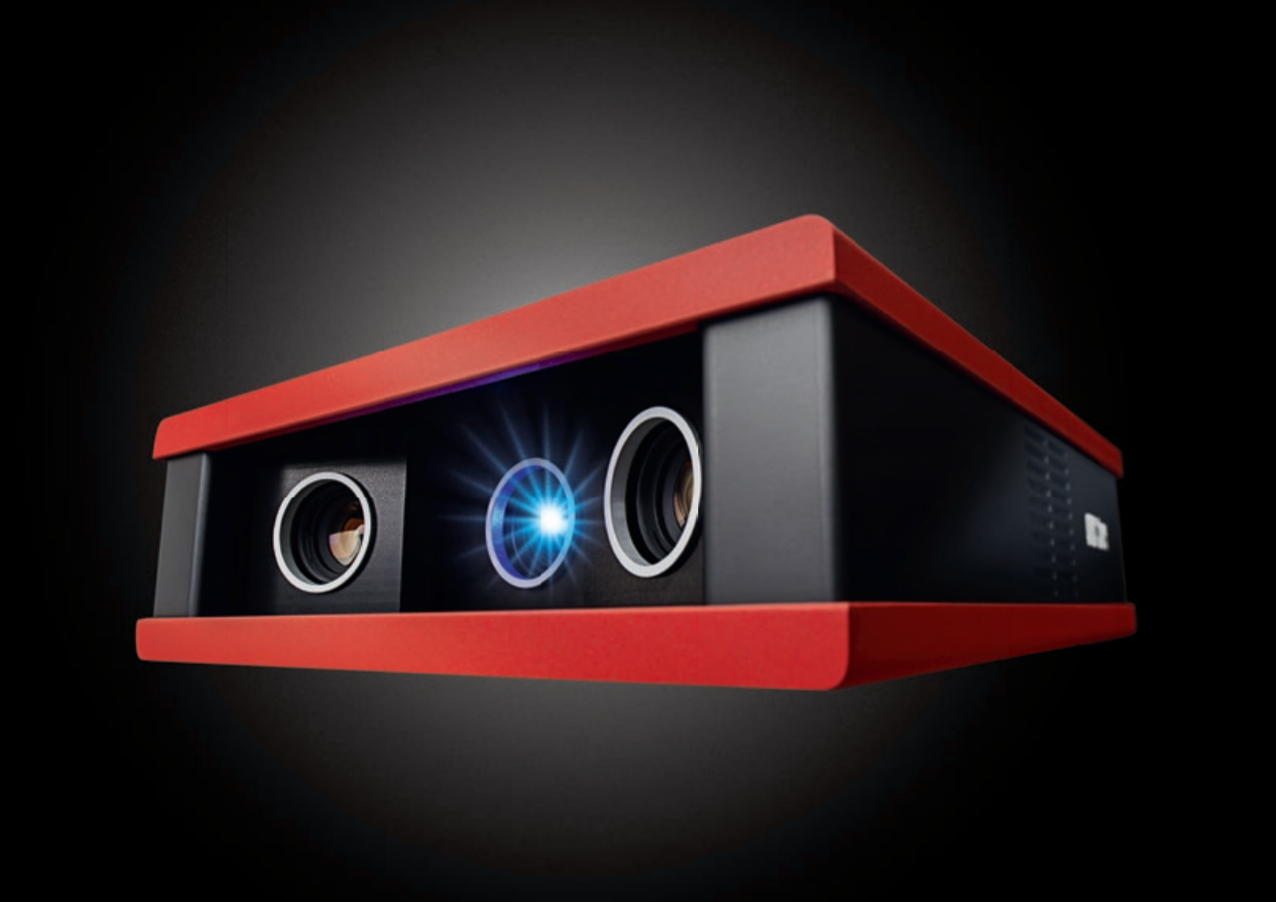
The ATOS Core is a mini-sized precision grade metrology powerhouse. This optimal scanner measures millions of accurate points per quick scan.It is used to take 3D measurements of small and medium-sized objects, such as ceramic cores, cast parts or plastic parts. The sensor is also vital for several measuring tasks – from simple 3D scans to fully automated measuring and inspection processes.
Three solutions.One Core.
Essential Line – All about portable 3D scanners
The ATOS Core Essential Line is for applications, such as reverse engineering or rapid prototyping, which requires a portable 3D scanner without the advanced inspection functionality…. The GOM Scan software is an easy-to-use measurement software for intuitive operation that controls the ATOS Core sensor and at the same time processes the recorded 3D surface data to high-quality 3D meshes and provides it in STL format. An upgrade to the Professional or Kinematics Line is possible at any time if the requirements or measuring tasks change.)
Professional Line – Solving quality control
The ATOS Core Professional Line is available for comprehensive shape and dimension analysis…. ( Parametric inspection can be used to completely trace and link all actions and analysis steps in the software. Further functions include selective projection and back projection as well as dynamic referencing for tracking, touch probe and adapter applications.)
Kinematics Line – High quality automation made affordable
The ATOS Core Kinematics Line is for the automated measurement and inspection of small components… (The robot-guided sensor is integrated in the ready-to-use ATOS ScanBox measuring cell, thus enabling efficient quality control in the production process. The ATOS ScanBox is an optical 3D measuring machine for fully automated 3D digitizing and inspection. It combines optimized industrial components, mobility and highest safety in one device.)
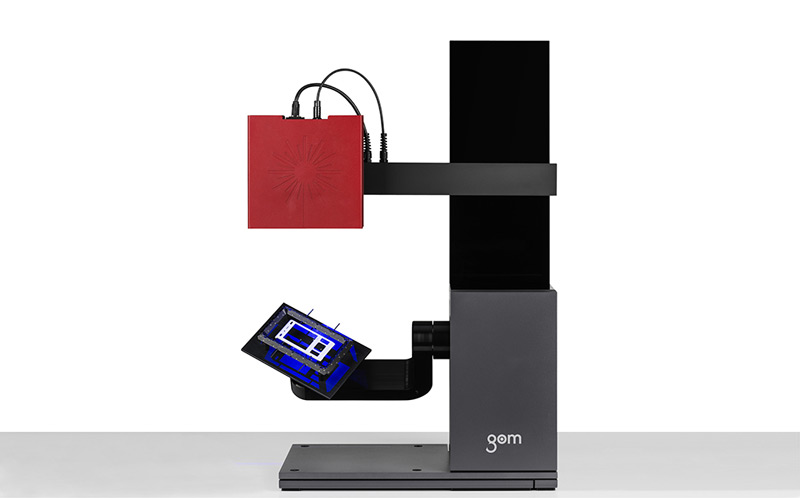
ATOS ScanPort
GOM has developed an optical desktop scanner for the measurement and inspection of small components. Recurring measuring tasks in particular are simplified with the fully automated rotation, swivel and linear axes. The movements can be recorded with the Motion Replay software functionality – without the need for prior programming. Thus, when users need to measure similar parts, these measuring procedures are simply called up.
Technical Data
| Measuring area | Working distance | Point Spacing | Sensor Dimensions | |
|---|---|---|---|---|
| ATOS Core 45 | 45 x 30 mm | 170 mm | 0.02 mm (0.03 mm)* | 206 x 205 x 64 mm |
| ATOS Core 80 | 80 x 60 mm | 170 mm | 0.03 mm (0.05 mm)* | 206 x 205 x 64 mm |
| ATOS Core 135 | 135 x 100 mm | 170 mm | 0.05 mm (0.09 mm)* | 206 x 205 x 64 mm |
| ATOS Core 200 | 200 x 150 mm | 250 mm | 0.08 mm (0.13 mm)* | 206 x 205 x 64 mm |
| ATOS Core 185 | 185 x 140 mm | 440 mm | 0.07 mm (0.12 mm)* | 361 x 205 x 64 mm |
| ATOS Core 300 | 300 x 230 mm | 440 mm | 0.12 mm (0.18 mm)* | 361 x 205 x 64 mm |
| ATOS Core 500 | 500 x 380 mm | 440 mm | 0.19 mm (0.31 mm)* | 361 x 205 x 64 mm |
*GOM Scan with Sensor Driver 2M
| Essential Line | Professional Line | Kinematics Line | ||
|---|---|---|---|---|
| Software | GOM Scan | Y | - | - |
| ATOS Professional | - | Y | Y | |
| Automation Software | Motion Reply | - | Y | - |
| VMR | - | - | Y | |
| Sensor Driver | Sensor Driver 2M | 2 million PPS** | - | - |
| Sensor Driver 5M | 5 million PPS** | - | - | |
| Triple Scan Sensor Driver | - | Y | Y | |
| Stand | Studio Stand | Y | Y | - |
| Tripod | Y | Y | - | |
| Desk Stand | Y | Y | - | |
| Automation Option | Rotation Table | - | Y | - |
| Small Object Motorization | - | Y | - | |
| ScanBox | - | - | 5108 / 5120 | |
| Dynamic Referencing | Touch Probe | - | Y | |
| Adapter | - | Y | Y | |
| Tracking | - | Y | Y | |
| inspection | Parametric Inspection | - | Y | Y |
| CAD import standard format (IGES, STEP, ASCII,...) | Y | Y | Y | |
| CAD import native formats | - | Y | Y | |
** Points per Scan(Native camera resolution: 5 million pixels)
*** with free GOM Inspect software
ATOS Core Technology
Optics and electronics are integrated in very small installation space for the first time. Its compact shape gives the sensor high stability and allows measurements to be taken in confined spaces. Depending on resolution requirements and measuring area sizes, the easy-to-handle sensor heads can be replaced easily via a quick release, without the need for re-calibration.
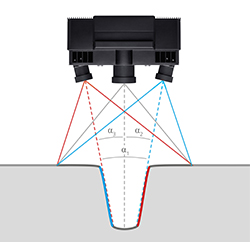
Triple Scan Principle
Together with both cameras, the projection unit operates according to the Triple Scan Principle. During the measurement, precise fringe patterns are projected onto the surface of the object and are recorded by two cameras, based on the stereo camera principle. This automatic principle offers advantages in measuring reflective surfaces or objects with complex indentations.
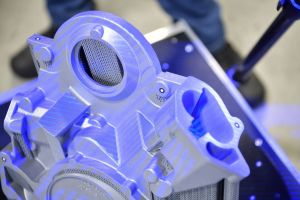
Blue Light Technology
The projection unit of the ATOS Core system is based on Blue Light Technology. Since the sensor works narrow-band blue light, interfering ambient light can be filtered during image acquisition. Due to its powerful light source, short measuring times can be achieved.

GOM Touch Probe
The GOM Touch Probe enables the selective measurement of areas that are difficult to access optically and the measurement of regular geometries and their direct comparison with CAD data.

