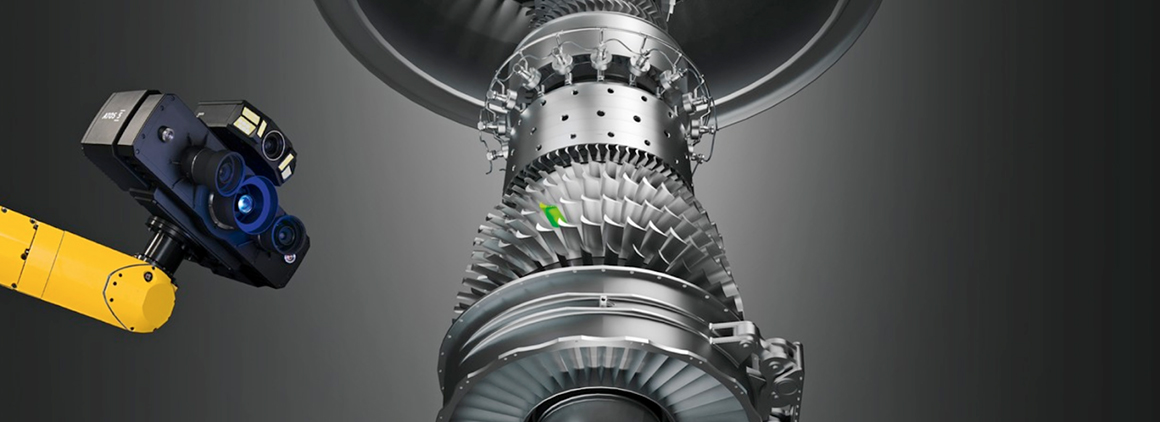
ATOS 5 for Airfoil
ATOS 5 for Airfoil with its optimized working distance and measuring areas delivers high-precision 3D data of the smallest details in a short measuring time
ATOS 5 for Airfoil
Tailor-made for gas turbine industry
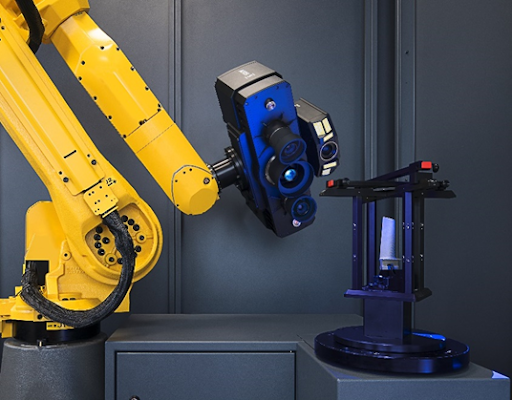
Atos 5 For Airfoil Overview Developed for gas turbine industries, ATOS 5 for Airfoil with its optimized working distance and measuring areas from 100 x 70 mm² delivers high-precision 3D data of the smallest details in a short measuring time.
ATOS 5 for Airfoil – Precise scanning of smallest details
- Optimized, shortened working distance
- Extremely high stability in automated applications
- Fast image processing
- Short exposure times

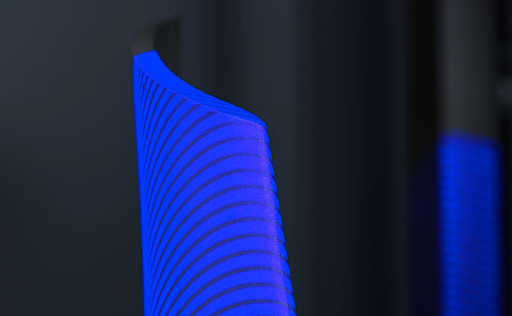
Fan Blade Inspection
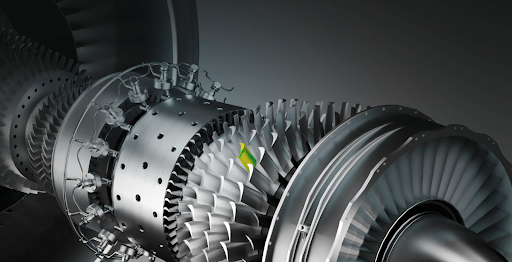
Fan blade inspection is characterized by geometrical complexity and requires a highly advanced technological approach to meet functionality and material tests.
Turbine Blade Inspection
The smallest details of turbine blades have an effect on the efficiency and fuel consumption of an aircraft. Speed and Precision for inspection processes is key.
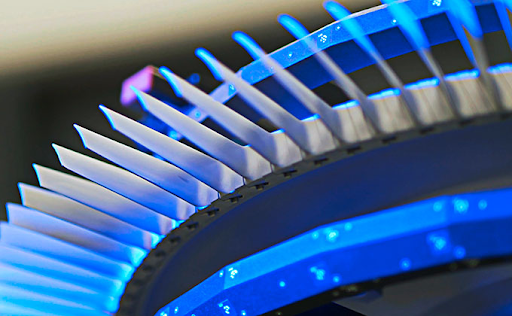
Blisk Inspection
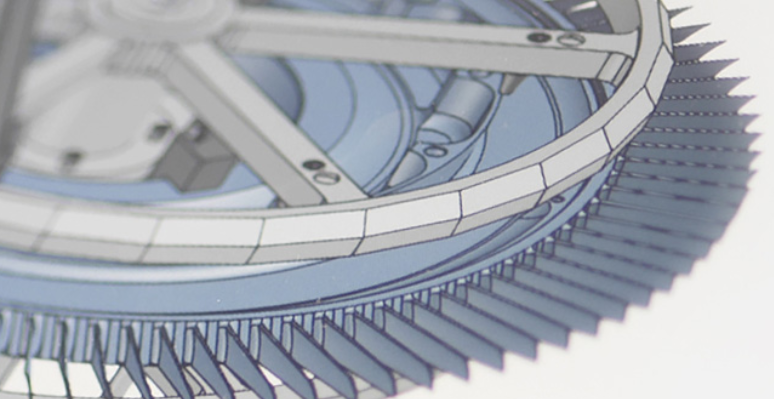
Measurements on blisks require high-end automation processes for fast inspection results and sophisticated software to allow for in-depth analysis.
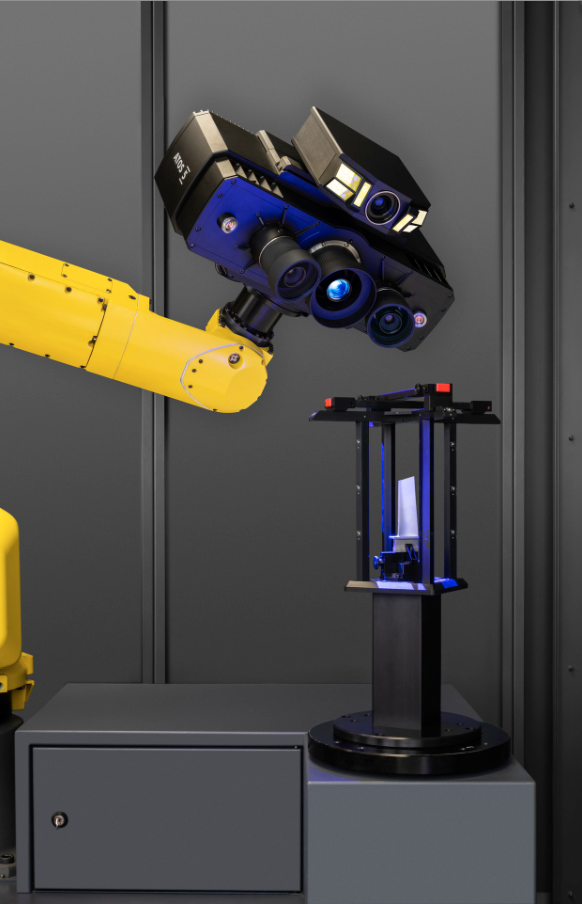
Atos 5 For Airfoil Technology
- Industrial 3D metrology with high-speed technology
Blue Light Equalizer
- Uniform, non-coherent, speckle-free light
Robust sensor design
- High accuracy in rough environment
Optimized working distance
- Highest data quality down to the smallest detail
Unique software functionalities
- Efficient inspection of airfoil sections
High stability
- Automated high-speed scanning
High-speed scanning
- 0.2 seconds per scan
GOM Data Quality
- The software solution controls the ATOS 3D scanner, produces precise 3D surface data.
Airfoil Inspection Features
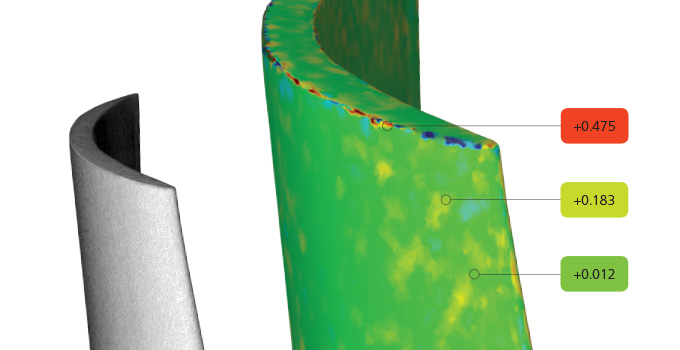
The GOM software offers a complete set of airfoil inspection functionalities. The inspection principles include standard and customizable options to meet different engineering standards and types of airfoil drawings. The user-defined inspection principle (UDIP) enables fast, standardized and efficient inspections of airfoil sections
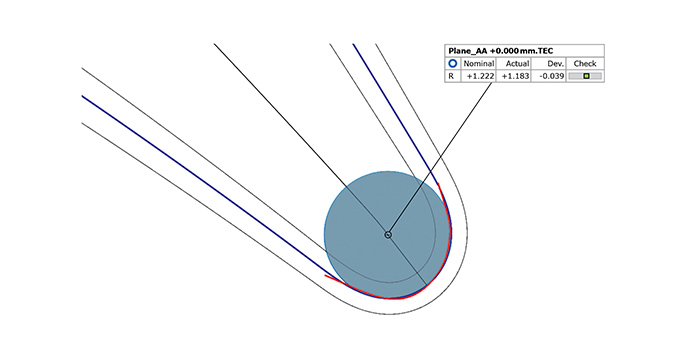
Edge Points and Edge Circles
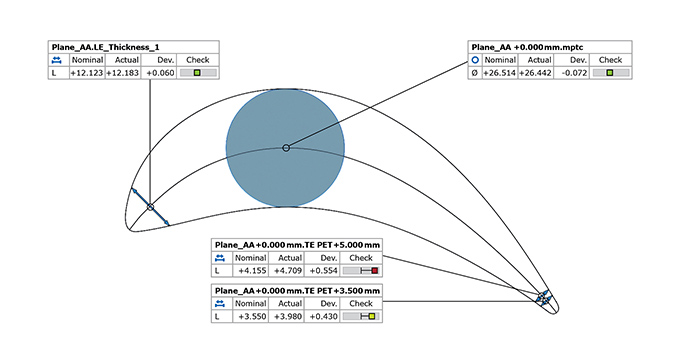
Thicknesses
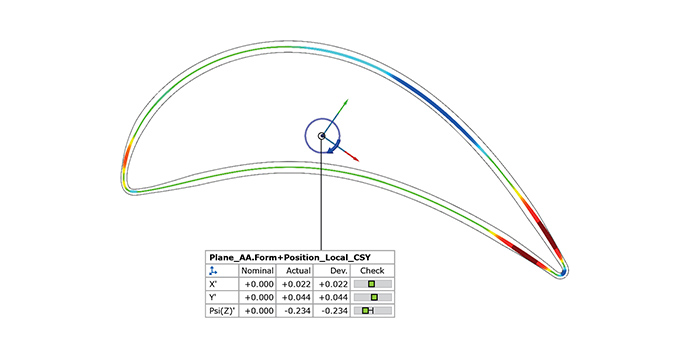
Form and Position Checks
Fast Inspection with GOM Data Quality
Speed up your processes
ATOS 5 for Airfoil measures detailed quality information of new products or components from maintenance or repair at significantly reduced measuring time. The number one advantage of the
ATOS 5 for Airfoil is the measurement speed. 3D scanning times of about one hour for blisks and less than 20 minutes for fan blades result from data acquisition in less than a fifth of a second
Achieve the highest data quality
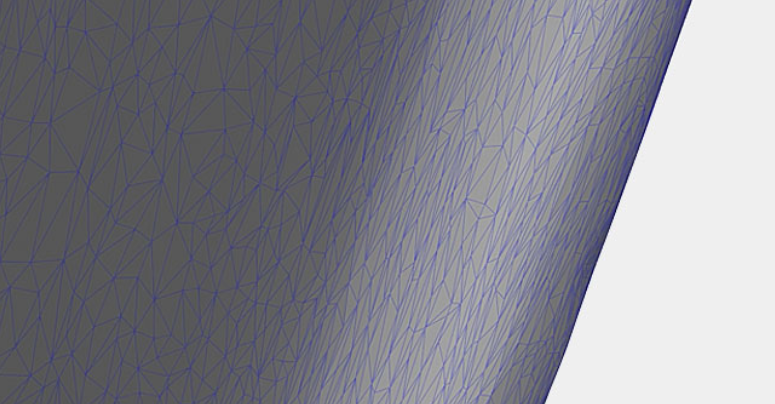
ATOS 5 for Airfoil delivers high-precision full-field data for comprehensive process and quality control of fan blades, turbine blades, blisks and different vanes (NGVs, OGVs, IGVs). The data quality provided by the sensor meets the high requirements of the industry. For the measurement of turbine blades the accuracy and thus the resolution at the edges are of particular importance.
Technical Data (ATOS 5 Product Family)
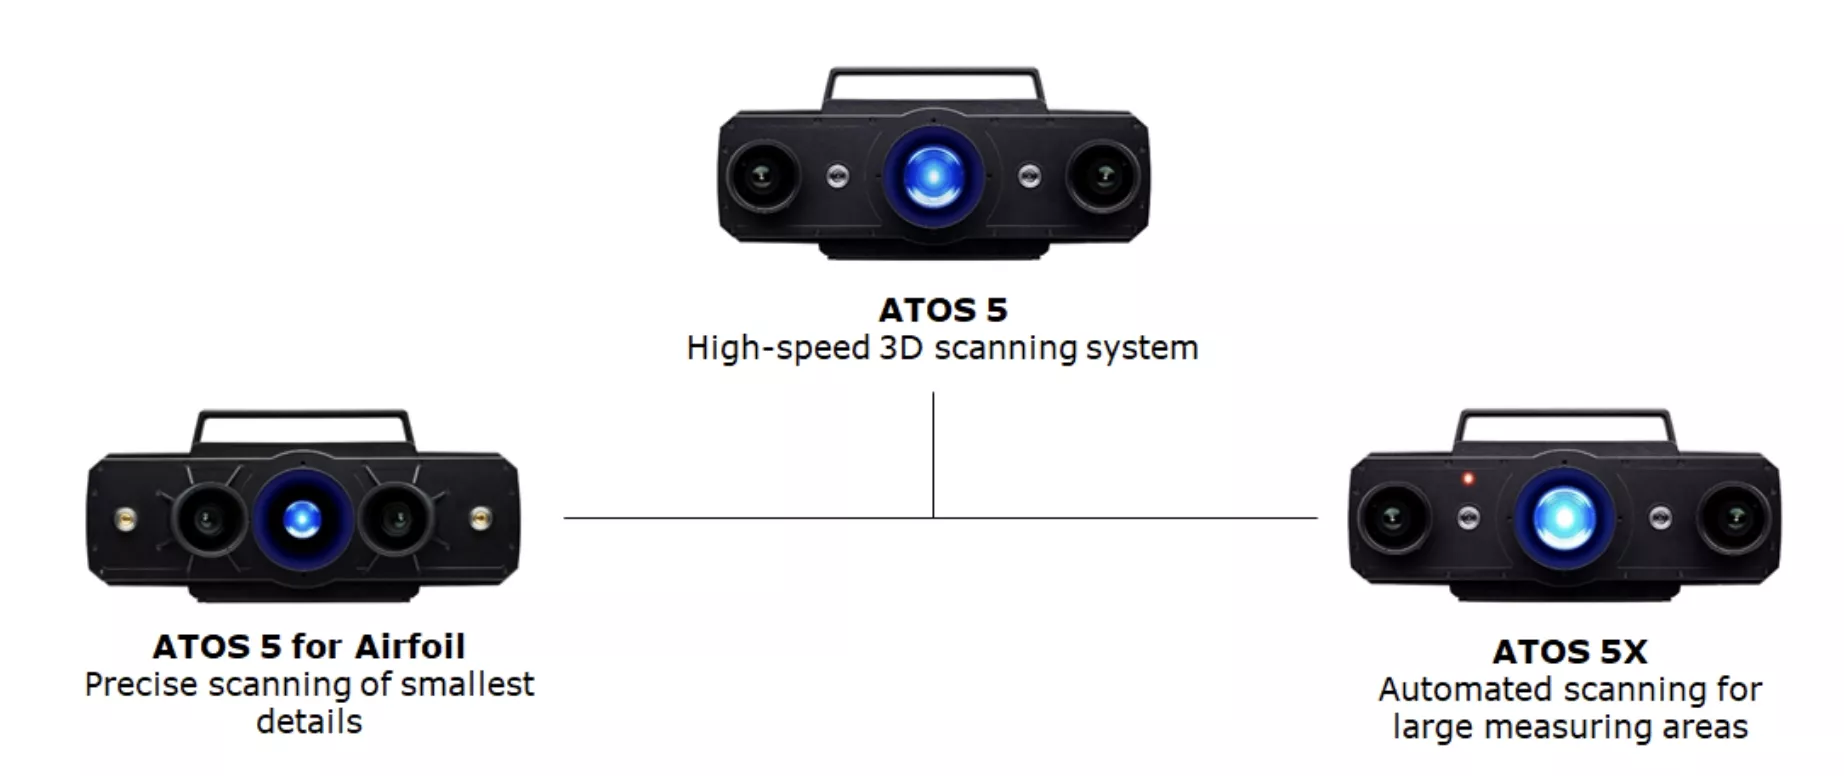
| ATOS 5 for Airfoil | ATOS 5 | ATOS 5X | |
| Light source | LED | LED | Laser |
| Laser class | - | - | 2/3B * |
| Points per scan | 12 million | 12 or 8 million | 12 million |
| Weight | approx. 14 kg | approx. 14 kg | approx. 14 kg |
| Dimensions | approx. 550 mm x 320 mm x 200 mm | ||
| Housing | dustproof, splashproof | ||
| Cable length | fiber optic cable up to 30 m | ||
| Operating system | Windows 10 | ||
| Measuring volumes | 100,170,270,400 | 170,320,500,700, 1000 | 320,500,700,1000 |
| Measuring area [mm²] | 100 × 70 – 400 × 300 | 170 × 140 – 1000 × 800 | 320×250 – 1000× 800 |
| Point distance[mm] | 0.03 – 0.1 | 0.05 – 0.25 | 0.08 – 0.25 |
| Camera angle | 27.5° | 27.5° | 27.5° |
| Working distance [mm] | 530 | 880 | 880 |
* According to standard IEC 60825-1: In 2014, classified as a Class 2 laser in automated use and as a Class 3B laser in manual use (safety distance without safety goggles > 700 mm).
